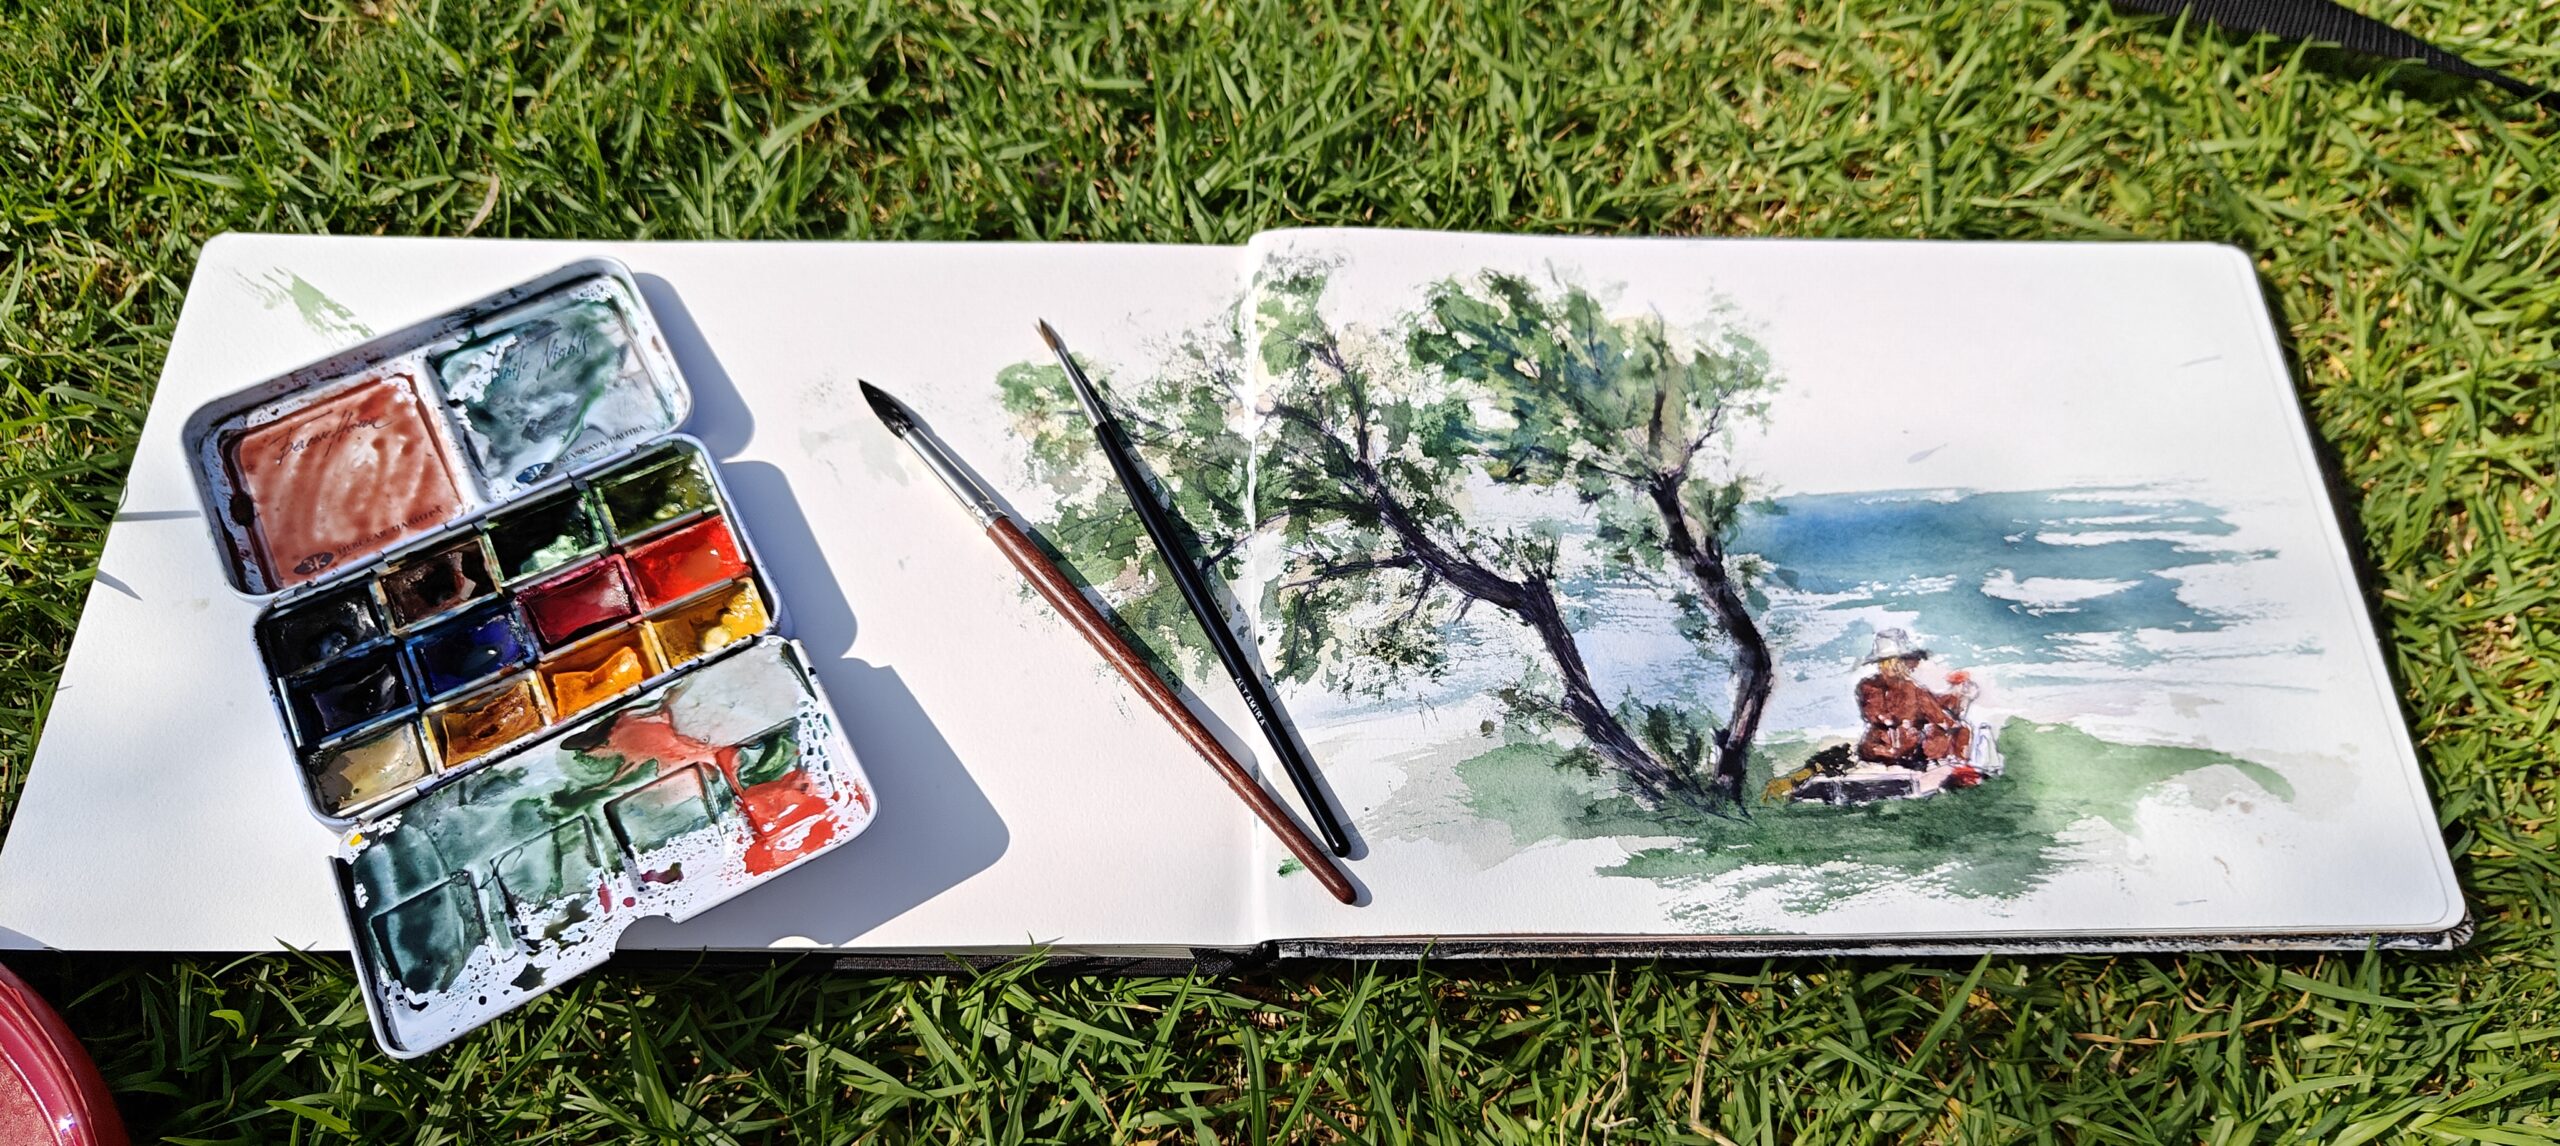
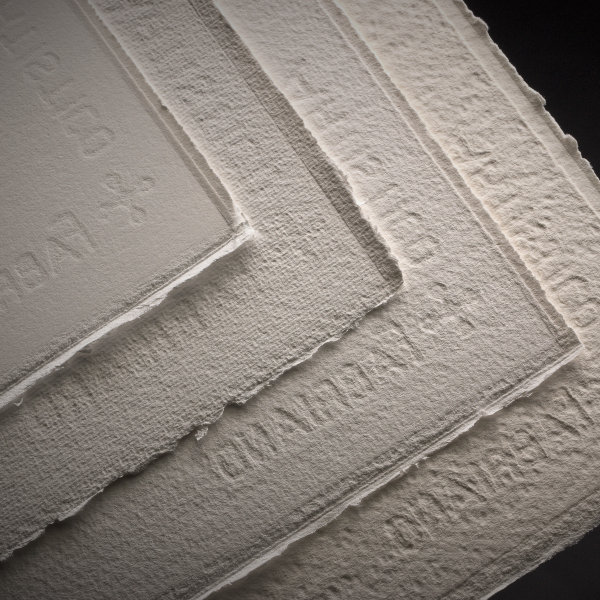
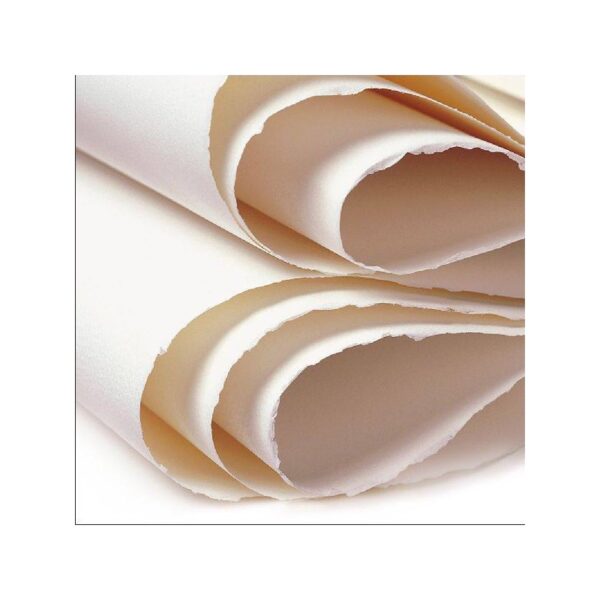
As I have already mentioned, if I’m not just sketching, I stretch watercolor paper on a blind frame. If you are not sure what kind of paper shloud you use, read 4 Expert Tips for Choosing the Perfect Watercolor Paper. I must admit that I did not come up with this, but I brought this tip from the artist https://lelyukh.com/, who has incredibly advanced my skills in watercolor. It is a mystery to me why more people do not know about this or do not utilize this stretching method more.
What is a “Blind Frame”?
It is a stretching frame for paintings that serves as a structural support for the canvas. The term Blind because it is not visible, remaining hidden under the canvas and only noticeable on the back of the painting.
You can either buy a stretching frame at an art supply store or at some framing shop. You can buy a ready-made frame or easily assemble it from individual pieces that fit together. It’s not complicated; you just have to be careful to ensure it fits at a right angle.
“The variability of frames is really diverse; you can practically assemble any size, but you always need to keep in mind that the dimensions are measured in 5 cm increments.”
From a size of 100 cm, it is recommended to add cross braces to the stretching frames, which is like a cross from the back so that the frame is sturdy, and we don’t end up with a rhomboid or rhomboid rectangle.
What We Need to Stretch Watercolor Paper on a Blind Frame:
- A clean board – a surface where we can cut calmly;
- A blind frame assembled or its individual pieces;
- If we are assembling the blind frame ourselves, I recommend a hammer;
- A square with at least one long arm or a long ruler; I use a metal square;
- Scissors or ideally a utility knife;
- Watercolor paper, always 3 cm larger than the size of the blind frame;
- The possibility to soak watercolor paper somewhere – ideally in a bathtub;
- Push pins (here the hammer comes in handy) or a stapler.
Step by Step How to Stretch Watercolor Paper on a Blind Frame:
1. First, since I prefer cutting and working on the floor, I ensure that the surroundings are free from small children and curious cats.
2. Prepare a clean board or surface where we can cut calmly and where it won’t bother us if some water drips while stretching the paper. Personally, I have found it effective to cut on a leftover (100×80 cm) kitchen countertop which is placed on the wall between the upper and lower parts of the kitchen unit. The material is sturdy, virtually scratch-resistant, and washable so that we don’t get watercolor paper dirty.
3. If we do not have a pre-prepared blind frame, we prepare 4 pieces and a hammer. The blind frame has deep notches at the corners that fit together with slight resistance; however, it’s important not to try to fit two pieces together right from the start but rather assemble the whole frame and gradually tap in the corners several times.
“I prefer a frame size of 45×55 cm, which gives me an end result of 42×52 cm without stress or overthinking. This gives me enough room for trimming when, for example, the frame isn’t exactly rectangular, and I need to adjust it.”
4. Cut your watercolor paper so that it is approximately 1.5 cm larger on each side than the size of the frame. The overlap will serve for folding over the side of the frame and securing it either with push pins or with staples. For cutting paper, I find that using a utility knife works best for me; it’s cheap, lightweight, precise, and sharp, and if it gets dull, you just break off the tip and it remains functional.
5. Now for the crucial but easy step: Take the cut paper and soak it in water for about 10 minutes so that it lies there and gradually absorbs as much water as possible. As I have mentioned several times, I use 300g cotton; with cotton this works fine even with lower grammage. It should also work with cellulose watercolor paper, but I haven’t tested that. Be careful if you don’t have a water surface that matches the size of your paper. Don’t put it in water under too much pressure so that it doesn’t break. Small irregularities will smooth out without problems after drying, but large breaks will remain on the paper. It’s like having wrinkles on your forehead. Since my bathtub is quite narrow and my papers are usually 48 cm wide, I learned that once the paper absorbs some water, I can shape it into a wave so that all parts of the paper are submerged and no edges stick out.
6. After about 10 minutes carefully remove the paper from the water. Carefully!!! After soaking, watercolor paper has a more delicate consistency and thus is more prone to damage.
7. Now begins the most interesting and also hardest part: Take your prepared blind frame and place the paper on it so that there is an even overlap on all sides. This is where you can tell if both paper and frame are at right angles.
Start in the center of one shorter side (for squares this doesn’t matter) where you attach the paper with push pins; if you lack strength to press them in, you can help yourself with a hammer. If you have a stapler, secure the paper with staples;
- Turn over the frame and at the other end in the center of one shorter side again attach the paper. This time don’t just attach it; pull it slightly taut before securing it. This requires some skill and experience. If you pull too hard, part of the paper may remain stuck in your fingers; however, nothing happens; you can attach it right next to where it’s stuck;
- Now do the same in the center of both longer sides; just pull slightly taut before securing on both sides;
- Once we have pulled out all sides into an imaginary cross shape, we return back to start gradually tightening and securing down all edges of paper from center outwards several times around according to size of paper. The spacing between staples should ideally be about 3-4 cm apart. Finally leave yourself corners which you neatly fold down like when wrapping a gift.
- This prepared stretched paper should be left flat to dry out completely; drying time varies depending on temperature and humidity levels in air; usually I prepare three sheets in advance in evening letting them dry overnight.
“After drying, your paper will be firm and taut enough so that you can drum on it!”
If stretched well enough even larger amounts of water will not affect its tautness; however, if it’s not stretched 100% (which happens often for me so no stress), when using larger amounts of water it may relax slightly causing only minimal sagging effect; yet once dry again tautness returns leaving no warping after cutting away from frame.
Attention! When buying a blind frame, be careful if you order pieces online; you need to consider in advance what final size of artwork you need.
If you need a square, all four pieces are the same; if it’s a rectangle, two pieces are shorter and two longer.
Another thing is that when cutting down an artwork, it doesn’t always happen that you can cut the paper right at the edge of the frame. This means that if you need an artwork 30×40 cm, after cutting you may find that the final result is 29.8×39.7 cm and you are already missing 2 mm for it to comfortably fit under the prepared passe-partout/paspart.
Note: I mentioned that papers should be cut 3 cm larger than frames; unfortunately papers I buy come in size 56×76 cm; since my preferred frame size is 45×55 cm I pin shorter side measuring 56 cm onto frame measuring 55 cm which means there’s minimal folding involved; essentially pinning down edge of paper onto edge of frame using push pins isn’t possible while stapling requires more effort but still doable.
SO, HOW DID YOU DO IT? LET ME KNOW? DONT FORGET TO SUBSCRIBE.